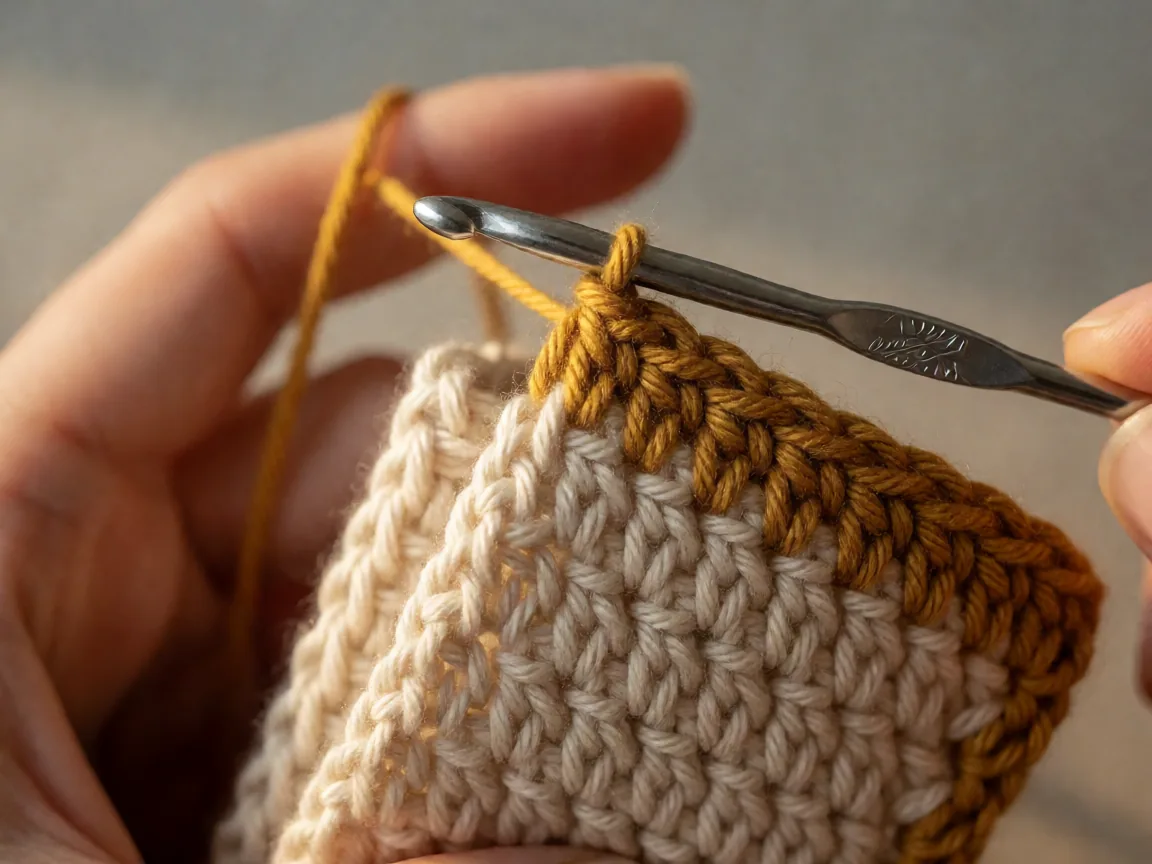
The slip stitch is the first stitch most people learn and the one they understand least. It is also the only stitch that makes no fabric at all, which is exactly why it is indispensable.
Here is the short version: a slip stitch joins yarn to yarn without adding any height or width. That single property is why it is used for turning chains, invisible joins, seams and every round of a spiral. If you understand that sentence, you understand the stitch.
How to work a slip stitch
Two steps, and it takes under a second once you have the motion:
- Insert your hook into the stitch or space you are joining to, going through both loops if it is a stitch.
- Pull the working yarn through the fabric, then pull it through the loop already on your hook. Two loops on the hook become one.
That is it. No yarn over, no pulling through multiple loops. The hook goes in and comes straight back out.
What it looks like
A slip stitch sits as a small horizontal bar on the right-hand edge of the fabric, the same height as the top of the row below. When you work a row of them, they stack into a neat braided-looking column. In most patterns they are too small to notice individually, which is precisely the point.
Abbreviation and how to read it in a pattern
Slip stitch is written ss in American patterns and sl st in British ones. Both mean the same thing. Some patterns also use sc — no, that is single crochet; if a pattern writes slip stitch as sc it is an error or an old notation, so check the abbreviation key.
When a pattern says “ss across, ch 1, turn”, work a slip stitch into every stitch of the row, then chain one to reach the height of a single crochet, then turn. The slip stitches give you the row; the chain gives you the height.
The three jobs a slip stitch does
1. Turning chains
At the end of a row, you chain to get up to the height of the stitch you are about to work. One chain for single crochet, two for half double, three for double. Those chains are slip-stitch-shaped, which is why beginners sometimes chain too tightly and find the next row will not fit.
2. Invisible joins
To join two rounds, slip stitch into the first stitch of the previous round and the first stitch of the new round at the same time. One stitch, no visible seam, and the round boundary disappears.
3. Flat seams
Working a slip stitch through the top loops of two pieces joins them edge to edge. The seam is firm, nearly invisible from the right side, and does not stretch — which is why slip stitch is used for seaming amigurumi limbs.
What slip stitch is not for
Because it adds no height, a row of slip stitches will not fill space. If a pattern tells you to work a round of slip stitches and then continue in the same round with single crochet, the slip stitches are not the fabric — they are a foundation layer to crochet into. Reading slip stitch as a placeholder is the mental shift that makes it click.
Common mistakes
- Slipping into only one loop. Unless the pattern says front loop only or back loop only, go through both loops.
- Skipping the first stitch. Slip stitch into the very first stitch of the round, not the turning chain.
- Tight turning chains. If the next row cannot pass through the chain, your chain is too tight. Make the chain slightly looser.
- Yarn over instead of pull through. A slip stitch has no yarn over. If you are yarn overing, you have accidentally started a single crochet.
Making a tidy slip stitch seam
Two habits turn a wobbly seam into a straight one. First, keep the tension on both pieces identical — hold them together and match the stitch spacing before you start. Second, work from the bottom row upward, not the top downward. Working upward keeps the seam level and stops the pieces from shifting as you go.
Next steps
Slip stitch is a supporting stitch, so the fastest way to learn it properly is in context. Learn single crochet next — it is the shortest stitch that actually builds fabric, and once that is comfortable the slip stitch stops being something you look up and becomes something you use without thinking.
You will also meet slip stitch everywhere in our crochet stitch glossary, including as turning chains, joins and edging.
Frequently asked questions
Why does the pattern say the slip stitch does not count as a stitch?
Because it does not build fabric. A slip stitch is closer to a movement than a stitch: it passes through a loop and pulls it through to join, to turn, or to shift your place along a row. It leaves no visible surface on the finished piece, which is exactly why edgings built from it disappear into the fabric. Count it only when a pattern explicitly tells you to.
Why do my chains split or twist as I go?
Usually over-twisting. If you roll the working yarn between your finger and thumb as you make each chain, the strands tighten until the loop splits when you pull the hook through. Let the yarn feed straight from the ball instead. The other common cause is reaching for a hook that is too large, which gives the loop no resistance; drop back one size and the problem usually disappears.
How do I know my foundation chain is long enough?
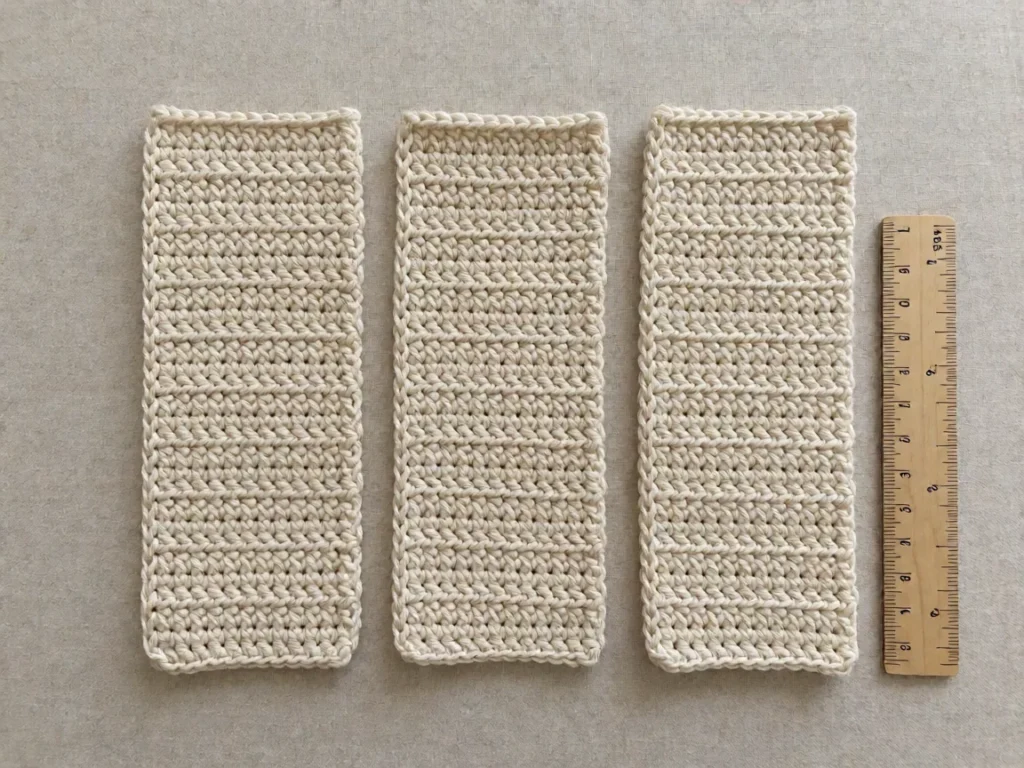
Measure it. Lay the chain flat, do not stretch it, and check it against the size the pattern calls for. A useful landmark: 25 chains worked with a 4.0 mm hook give roughly 10 cm, and the same hook gives you a 20 cm foundation in roughly 50 chains, plus the turning chain on top. If your chains measure noticeably shorter, your tension is tight and a size down will save you from a panel that comes out narrow.
One naming trap to watch for: in UK terminology sc means slip stitch, while in US terminology sc means single crochet. The Craft Yarn Council crochet abbreviations standard lists both, and a pattern that never says which one it uses is a pattern to ask about before you begin.
Working an edging and want to check your tension before committing to the whole panel? Leave a comment with the hook size and stitch you are using, and I will tell you what to measure.