One free pattern, every Thursday — join thousands of makers.

Get the weekly pattern

Tasty Crochet

Category: Crochet Techniques

  • Crochet Gauge: How to Measure and Match Your Tension

    Crochet Gauge: How to Measure and Match Your Tension

    Gauge is the least enjoyable step in a crochet project and the one that saves you the most. It takes ten minutes with a tape measure. Skipping it costs you a finished-size blanket that is two widths too narrow, or a hat that fits nobody in your family.

    Here is the honest version: you are not doing this because the pattern says so. You are doing it because you already know your tension is different from the designer’s, and you would rather find that out on a swatch than on row forty.

    What gauge actually measures

    Gauge is how many stitches and rows you fit into a fixed measurement — usually 10cm or 4 inches. That is all. A pattern states a gauge like “16 sts x 14 rows = 10cm in 4 ply dk with a 3.5mm hook”, and that line is a promise about your hands, not about the yarn.

    Two crocheters using the same yarn and hook will produce different gauges. Crochet tightly and you get more stitches in 10cm. Crochet loosely and you get fewer. Both are correct; neither matches the pattern unless the pattern says so.

    Making the swatch

    Work in the stitch the pattern uses. If the pattern is in single crochet, a double crochet swatch tells you nothing useful about the actual project.

    1. Chain 25 to 35 stitches — more than you think you need, because you are measuring the middle and edges lie.
    2. Work the pattern stitch for at least 15 rows.
    3. Work the turning chain at the end of each row, exactly as the pattern specifies.
    4. Do not fasten off, do not block, do not stretch it flat. Measure it exactly as it lies.

    That last point is the one people skip. Blocking changes the measurement — often by several percent — and if you block before measuring you are measuring a different object than the one you will be working.

    Measuring it

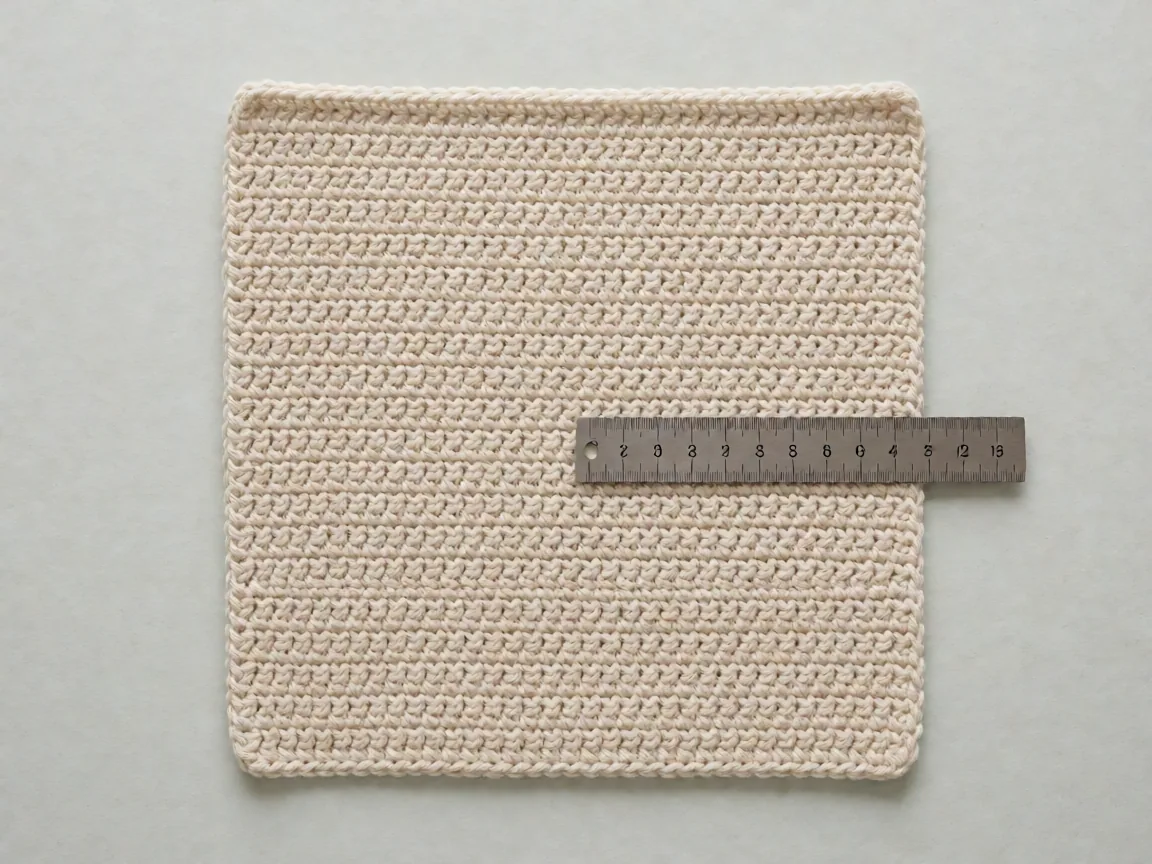
    Lay the swatch on a hard, flat surface. Smooth it out gently with your hands only — no ruler pressing, no stretching. Measure across the widest part of the middle section, in centimetres, and count the stitches within that exact width.

    For rows, measure from the top of the first row to the top of the last complete row. Counting from row to row by eye is where the error creeps in.

    Write both numbers down, including the hook size and the yarn. A gauge without its hook size is not a measurement, it is a rumour.
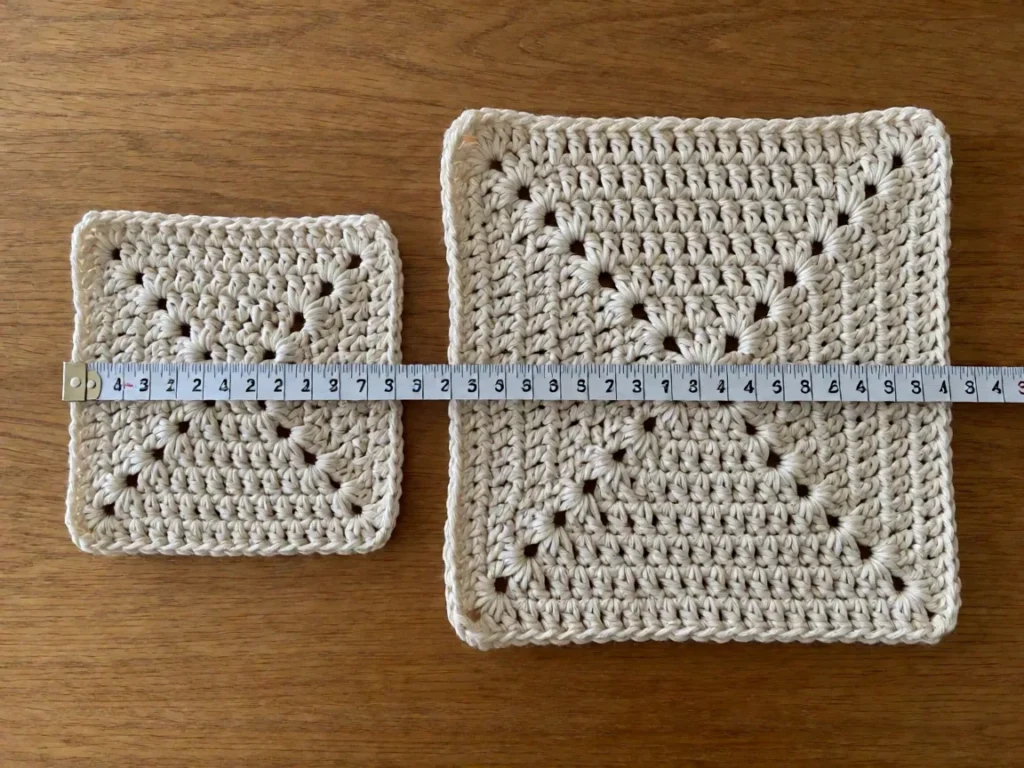
    A tape measure across a crocheted gauge swatch laid flat on a wooden surface

    When your gauge is too tight

    You are getting fewer stitches in 10cm than the pattern wants. Three options, in order of preference:

    • Go up a hook size. The reliable fix. A half-millimetre change often resolves a full stitch count.
    • Work more loosely. Change your tension rather than the tool — hold the fabric in your off hand and let the work pull through.
    • Change stitch pattern. Sometimes a pattern worked in half double instead of single gives the height you need.

    Going up a hook size is not cheating. It is the intended mechanism. Every pattern says “use a hook size to obtain the gauge”, and the fabric changes accordingly — a loose crocheter in a double crochet fabric will get a softer, drapey result, which may be exactly what you want anyway.

    When your gauge is too loose

    More stitches in 10cm than the pattern wants. The mirror image: go down a hook size, or tighten your tension. Going down can make fabric stiff on some yarns, so if the yarn is already firm, adjust tension before you adjust the hook.

    Adapting a pattern instead of abandoning it

    Here is the arithmetic, and it is genuinely simple. If you measure 14 stitches in 10cm and the pattern calls for 16, then your stitch is larger than the designer’s by a factor of 16/14 — call it 1.14. A finished width of 30cm needs 14 × 3 = 42 stitches instead of 16 × 3 = 48.

    Multiply every count in the pattern — every stitch number, every row number — by that factor, then add or subtract one for rounding and cast on the adjusted number instead.

    Three cautions before you do this. First, textured and lace stitches have no predictable relationship to gauge; only work the arithmetic on standard stitches. Second, changing the stitch count changes the row count, which changes everything above it, so work from the bottom up. Third, if you are adjusting by more than about 15 per cent, adjust the hook size first and re-measure. Large arithmetic corrections are where mistakes hide.

    When to stop measuring

    Once. If the swatch matches, stop. If it is off by a hook size or two, make the hook change and stop. The obsessive re-measuring spiral — adjusting tension, re-swatching, adjusting again — produces swatches you have manipulated into matching rather than learning anything about your own hands.

    The exception is projects where fit matters to someone: a hat with a specific head size, a fitted sweater, anything with a garment block. Those get a second swatch in the actual yarn, not a different yarn in the same weight. Yarn weight is a category, not a promise.

    Frequently asked questions

    Why does my gauge change after I wash the swatch?

    Because the swatch was not finished when you measured it. Wool and cotton behave very differently in water, and many yarns relax or tighten as their fibres take on moisture. Measure dry, then wash and dry the swatch exactly as the pattern tells you to, and measure again. The second number is the one that predicts your finished fabric.

    Do I have to swatch in the exact stitch from the pattern?

    Work the stitch the pattern is built on. A swatch in single crochet tells you nothing about a fabric made in double crochet, and a colourwork or cable swatch tells you even less about a simple textured row. If you are unsure which stitch dominates the piece, that is the pattern to read again before you commit yarn to it.

    How do I know my swatch is the right size to measure?

    Anything roughly 15 cm square works. Too small and the edge stitches distort every row you count; too large and you have swatched a project instead of a sample. A 15 cm square worked in the pattern stitch, washed as directed, and measured in the middle is the standard for a reason.

    Hook sizes are not interchangeable across brands, which is worth remembering when a pattern asks for 4.0 mm and your set gives you something looser. The Craft Yarn Council hooks and needles standard lists the metric sizes those markings refer to.

    Next steps

    With gauge understood, the remaining beginner skills are pattern literacy and materials. Read how to read a crochet pattern so the gauge line makes sense in context, and use our yarn guide to pick a weight that pairs with the stitch you want to use. Stitches themselves are defined in the crochet stitch glossary.

    Swatched something that will not budge to the right gauge? Tell me the yarn, the hook size and the pattern stitch, and I will tell you whether to change the hook or the yarn.
  • Double Crochet Stitch: How to Work It Taller and Faster

    Double Crochet Stitch: How to Work It Taller and Faster

    Double crochet is the workhorse. It stands roughly three times the height of single crochet, it covers ground faster than any other everyday stitch, and most patterns you will ever pick up are built from it.

    The reason it feels harder than single crochet is not the stitch itself — it is the five steps where single crochet has four, and the fact that you yarn over at the start. Once the opening yarn over becomes automatic, double crochet is one of the easier stitches to work quickly.

    Double crochet in five steps

    1. Yarn over. Wrap the yarn over the hook before you go anywhere near the fabric. This is what makes the stitch tall.
    2. Insert the hook. Push it through the stitch or space, front to back, catching both loops if it is a stitch.
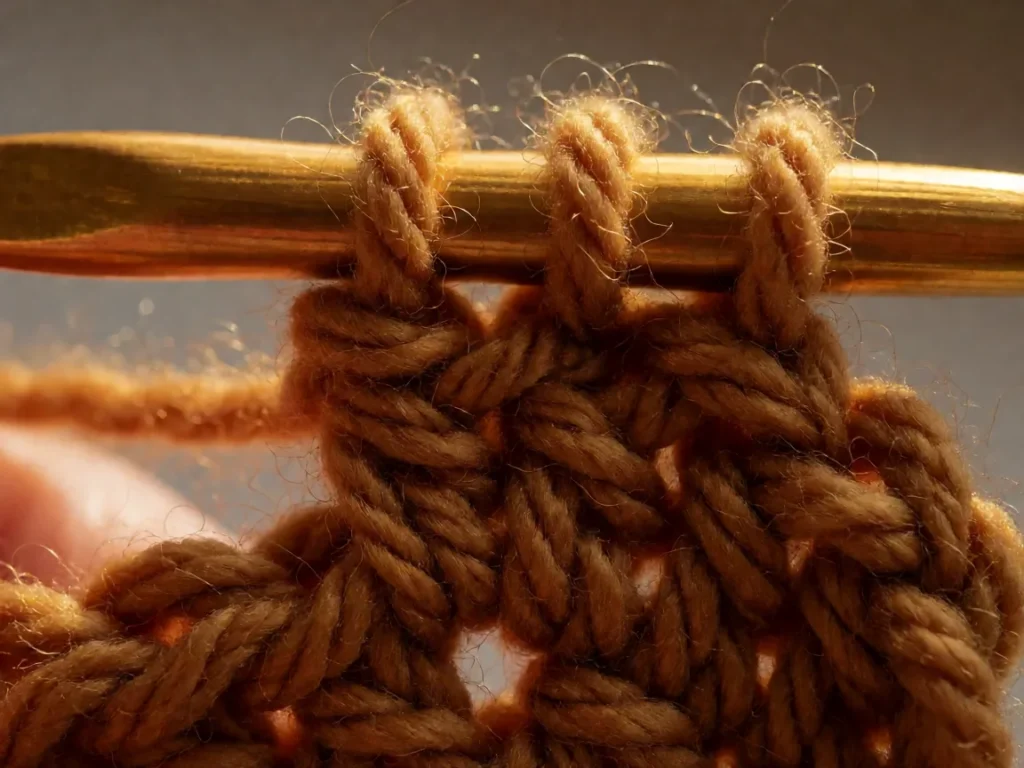
    3. Yarn over and pull up a loop. You now have three loops on the hook.
    4. Yarn over, pull through two loops. Two loops left on the hook.
    5. Yarn over, pull through the last two loops. One loop left. That is a double crochet.

    Note the two yarn overs that finish the stitch. They are what gives double crochet its height, and they are the reason it works up faster than single crochet — you cover three times the vertical distance per stitch.

    The chain three turn

    At the end of a row, chain three and turn. Those three chains stand in for the height of the stitches you just made, and the stitch directly beneath the third chain is the one you work the first double crochet into. Not the fourth stitch, not the chain itself — the stitch under the third chain.

    That single detail is where most beginners lose a stitch. Count out loud once and it stops being a problem: chain three, the third chain sits on top of the stitch you want, work into that stitch.

    Where the extra loops come from

    Follow the loop count and the stitch makes sense: after step three you have three loops, and you remove them two at a time, twice. Half double crochet is the same idea with only one loop removed after the pull-up, which is why it sits between the two.

    Single crochet pulls through both loops in one go; double crochet pulls through two, then two again. Once you can count the loops on the hook, you never have to memorise the steps — you just keep pulling through until one loop is left.

    Working in a round

    Chain three to rise, work a double crochet into the same stitch you started in, then around. Join to the first stitch with a slip stitch. Double crochet rounds eat more yarn than single crochet rounds, so if you are switching between them mid-project, check that your stitch count still divides evenly into the round.

    Tension and the fabric it makes

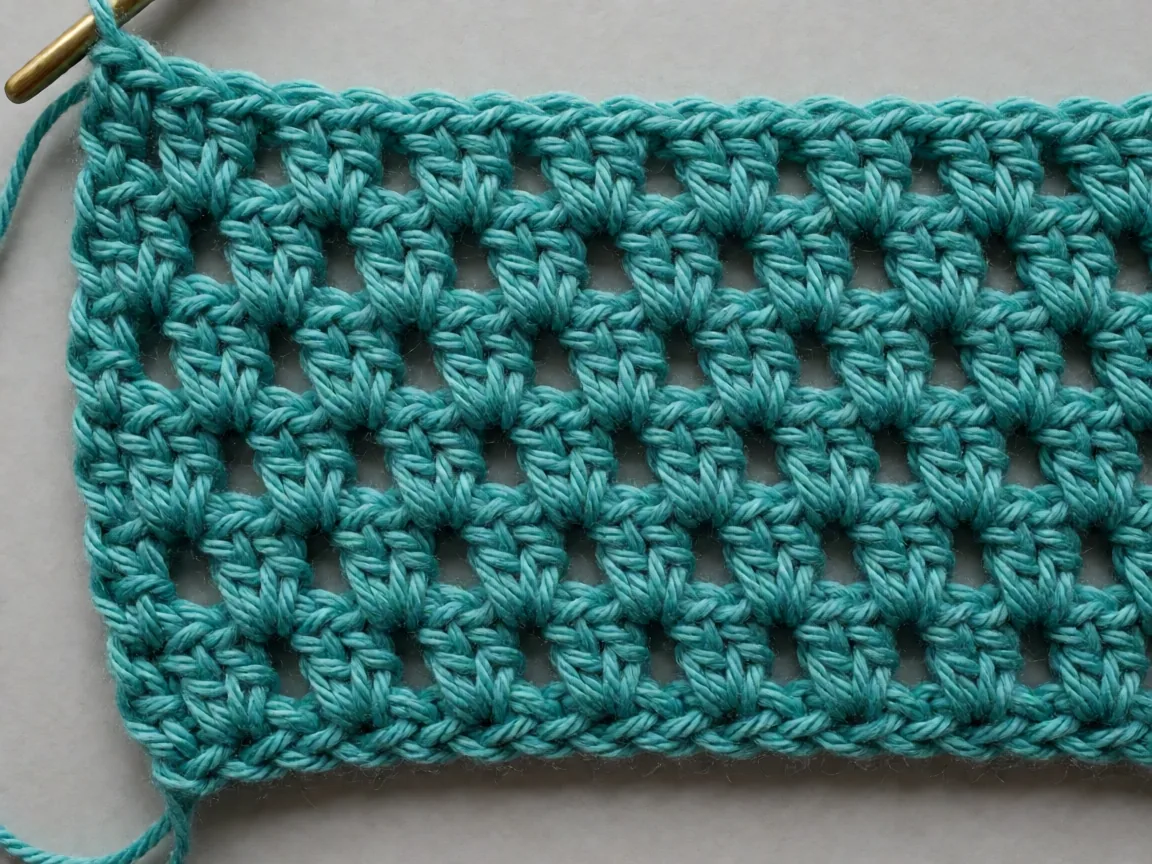
    Double crochet shows tension more honestly than single crochet because the stitch is open — gaps are visible. Loose double crochet leaves holes you can see daylight through; tight double crochet makes a stiff fabric that curls. Both are correct as long as the stitch count matches and the fabric lies flat when you finish.

    Because the stitch is taller, there is more opportunity for the yarn over at the start to slip off the hook. If your first double crochets come out shorter than the rest, that is why — check that the yarn over actually made it onto the hook before you insert.

    What the numbers actually look like

    Worsted-weight yarn worked in double crochet on a 5.5 mm hook commonly lands near 14 stitches and 12 rows per 10 cm. Treat that as a landmark rather than a rule — yarn brand, hook brand and your own tension all move it. The number that matters is the one you measure yourself, which is why gauge gets checked before the first row of any project.

    Yarn weight is the other half of the equation. The Craft Yarn Council yarn weight scale runs from lace through to super bulky, and the same 5.5 mm hook makes a completely different fabric at each end of it. A stitch count means nothing on its own; it means something next to a weight and a hook size.

    Variations worth knowing

    • dc2tog — work the double crochet across three loops instead of two at the first pull-through. Turns two stitches into one.
    • dc inc — work two double crochets into the same stitch. Turns one into two.
    • dc blo — insert under the back loop only, leaving the front loop as a visible ridge.
    • dc around a post — the post stitch, the building block of waffle and basketweave.
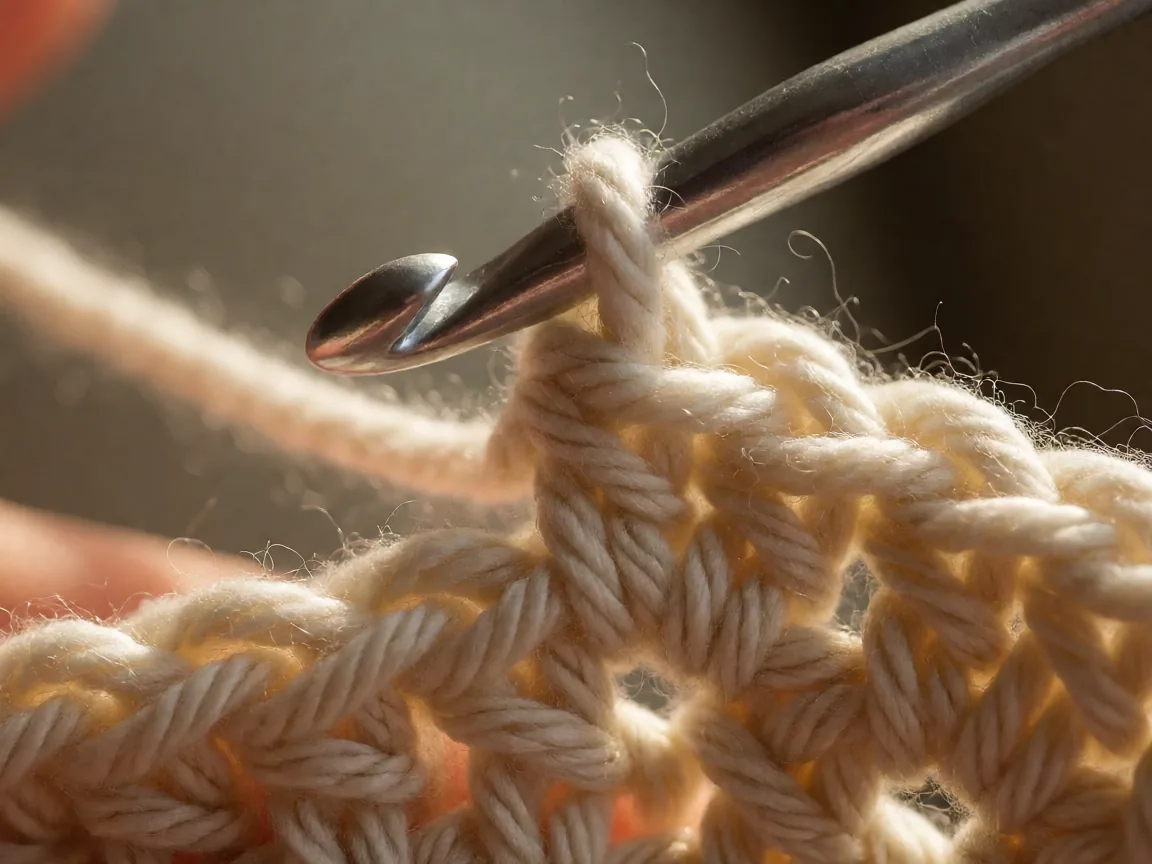
    Close-up of a crochet hook mid double crochet showing the three loops on the shaft and yarn over

    Common mistakes

    • Forgetting the opening yarn over. The first double crochet of every stitch comes out short and uneven.
    • Working into the fourth stitch after the turn. Work into the stitch under the third chain.
    • Pulling through all three loops at once. Two, then two. All three at once is a cluster, not a double crochet.
    • Letting the yarn over slip off. Keep your thumb on the yarn as you insert the hook.

    Next steps

    With single crochet and double crochet both comfortable, you can read the majority of published patterns. From there, check your gauge so the fabric matches what the designer intended, and learn to read the abbreviations in our crochet stitch glossary that patterns assume you already know.

    Frequently asked questions

    How many chains do I turn with between double crochet rows?

    Three. Chain three, turn, then work the first double crochet into the stitch sitting directly under the third chain — not the fourth stitch along the row, and not into the chain itself.

    Why are my first double crochets shorter than the ones after them?

    The opening yarn over is sliding off the hook before you insert it. Keep your thumb against the yarn as you go in and check that the wrap actually landed on the shaft. A short stitch at the very start of every row, with normal stitches after it, is the clearest sign this is what is happening.

    Can I swap double crochet for another stitch?

    Not one for one. Double crochet stands about three times the height of single crochet and eats noticeably more yarn per row, so a substitution changes both the finished size and the drape. The abbreviations are standardised, and the Craft Yarn Council crochet abbreviations list is worth checking before you swap anything — it is the reference most published patterns assume you can read.

    How do I begin a double crochet round?

    Chain three to rise, work one double crochet into the same stitch you started in so the round has no gap, carry on around, then join to the first stitch with a slip stitch. Keep an eye on the count as you go — a round that does not divide evenly is the usual reason a circle ends up with a visible wobble.

    Still losing count somewhere? Leave a comment naming the step that trips you up and I will write that one up in full.

  • Single Crochet Stitch: The Step-by-Step Guide for Beginners

    Single Crochet Stitch: The Step-by-Step Guide for Beginners

    Single crochet is the stitch you will use more than any other. It is the shortest stitch that produces fabric, it appears in roughly every pattern ever published, and once you can do it smoothly you have unlocked the whole craft.

    It is also the first stitch where beginners hit the wall — specifically the bit where you pull yarn through two loops at once and it comes apart. That moment is the whole trick, and this guide exists to get you past it.

    Single crochet in four steps

    1. Insert the hook. Push the hook through the stitch or space, front to back, catching both loops if it is a stitch.
    2. Yarn over and pull up a loop. Catch the yarn and pull it back through the fabric. You now have two loops on the hook.
    3. Yarn over, pull through both loops. Catch the yarn again and pull it through the two loops together in one motion. One loop left on the hook.
    4. Repeat. This is single crochet. There is no final step.

    Four steps, and the third one is the entire difficulty. Everything else is just the motion you already have from slip stitch.

    Why step three catches people

    Pulling through two loops at once feels wrong until it does not. The instinct is to pull each loop through separately, which produces a gap and a loose stitch that unravels the row below. The trick is to catch the yarn with the hook tip before you rotate, and to pull through both loops in a single continuous motion without letting go of the loop already on the hook.

    Practise on a foundation chain of about fifteen stitches. Once you can get ten single crochets without the row twisting or splitting, the stitch has landed.

    Working in a row

    At the end of a row, chain one, turn the work, skip the turning chain, and single crochet into the second stitch of the previous row. That “skip the turning chain” instruction is not optional — the chain is not a stitch, and crocheting into it makes a ragged edge.

    The second stitch can feel tight at first. That is normal; it opens up as you work and matches the chain height.

    Working in a round

    To begin a round, make a chain one, then single crochet into the same stitch you started in. To join the round, slip stitch into the first stitch. Mark the first stitch with a stitch marker every round — it is the difference between a flat circle and a cone.

    If you are new to rounds, this is where the glossary entry on magic loop saves you from a permanent hole in the middle.

    Tension and the fabric it makes

    The number of stitches is not the only thing that determines whether a swatch is correct. Tension is. Tight single crochet produces a stiff, small fabric that curls at the edges; loose single crochet produces a gaping, floppy fabric. Both count the right number of stitches and both are technically correct.

    Two habits keep tension consistent. Move the fabric, not the hook, and keep the working yarn in front of the work rather than reaching over it. If your rows are not lining up — the fabric narrows or flares — tension is the cause, not your stitch count.

    Variations worth knowing

    • sc blo — insert under the back loop only, leaving a ridge. One row of this is ribbing.
    • sc2tog — insert through two stitches and complete as one. Turns two stitches into one.
    • sc inc — work two single crochets into the same stitch. Turns one stitch into two.
    • sc in the back loop behind — an invisible decrease, worked with the stitch behind the current one.
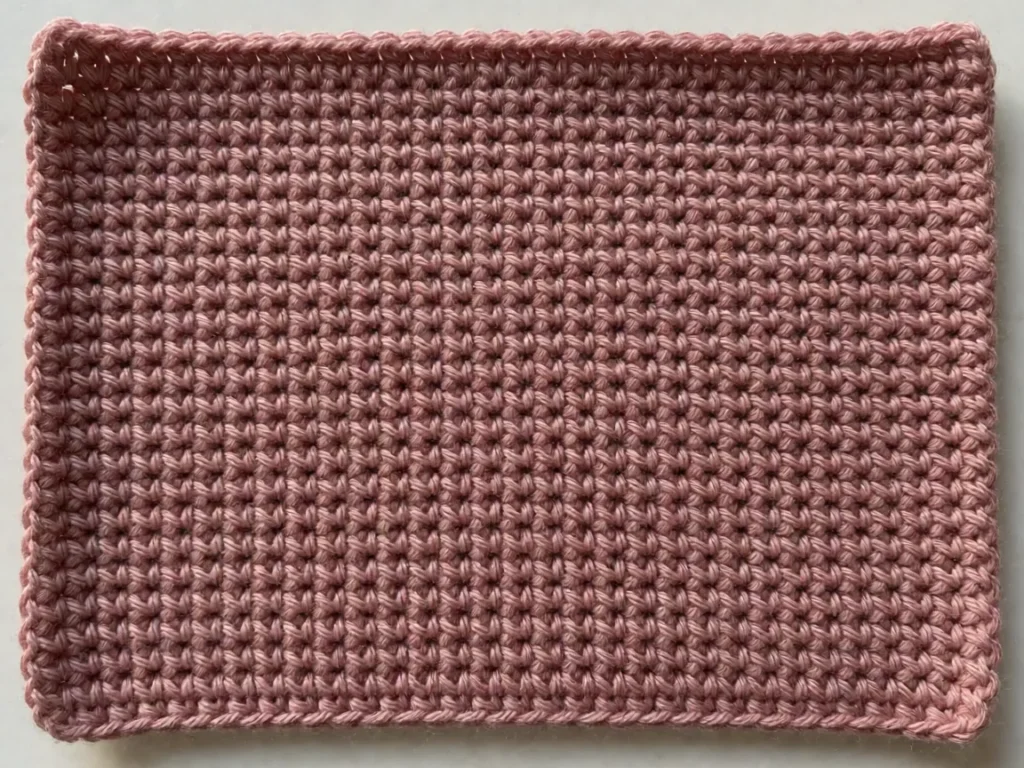
    Flat single crochet fabric in dusty rose yarn showing the dense grid of small tight stitches it produces

    Common mistakes

    • Pulling the loop through the fabric too short. Pull up a full loop so the hook has something to grab.
    • Working into the turning chain. Skip it. This is the most common reason edges look uneven.
    • Dropping the loop before the yarn over. Keep the loop on the hook through step three.
    • Rushing. Single crochet is not a fast stitch. Speed comes after consistency, and consistency comes before speed.

    Next steps

    Once single crochet is automatic, the natural progression is double crochet — taller, faster, and the other half of the stitches you will see in patterns. Both are defined in our crochet stitch glossary alongside the shaping and texture stitches that build on them.

    Frequently asked questions

    Why does single crochet feel tighter than double crochet?

    Because it does less work per stitch. Double crochet starts with a yarn-over, which adds height to the row and gives the fabric room to breathe. Single crochet goes straight into the stitch with no wrap, so the same number of stitches packs into a narrower band. The result is a dense, sturdy fabric that holds shape well and shows stitch definition clearly, which is why so many beginners end up with tighter tension than the pattern designer intended.

    How tight is tight enough?

    Measure it rather than judging by feel. Work a row of 20 single crochet in the pattern stitch, lay it flat without stretching, and count how many stitches fit inside 10 cm. In DK or light weight on a 4.0 mm hook, published patterns usually land around 16 to 17 stitches per 10 cm. If you are getting 14, your tension is tight; if you are getting 20, it is loose. Whichever number you get, that is the number your swatch has to report.

    Why does my stitch count drift by one at the end of each row?

    Almost always the turning chain. Many patterns intend the final stitch of a row to double as the turning chain, so a row that reads 18 stitches is worked as 17 single crochet plus the chain. Once the last stitch is treated that way, the count stops wandering. Check the pattern notes before deciding which interpretation it wants.

    Patterns abbreviate this stitch sc in US terminology and sc for slip stitch in UK terminology, so check which convention the pattern declares before you start. The Craft Yarn Council crochet abbreviations standard is the list publishers work to.

  • Slip Stitch Crochet: What It Is and How to Work It

    Slip Stitch Crochet: What It Is and How to Work It

    The slip stitch is the first stitch most people learn and the one they understand least. It is also the only stitch that makes no fabric at all, which is exactly why it is indispensable.

    Here is the short version: a slip stitch joins yarn to yarn without adding any height or width. That single property is why it is used for turning chains, invisible joins, seams and every round of a spiral. If you understand that sentence, you understand the stitch.

    How to work a slip stitch

    Two steps, and it takes under a second once you have the motion:

    1. Insert your hook into the stitch or space you are joining to, going through both loops if it is a stitch.
    2. Pull the working yarn through the fabric, then pull it through the loop already on your hook. Two loops on the hook become one.

    That is it. No yarn over, no pulling through multiple loops. The hook goes in and comes straight back out.

    What it looks like

    A slip stitch sits as a small horizontal bar on the right-hand edge of the fabric, the same height as the top of the row below. When you work a row of them, they stack into a neat braided-looking column. In most patterns they are too small to notice individually, which is precisely the point.

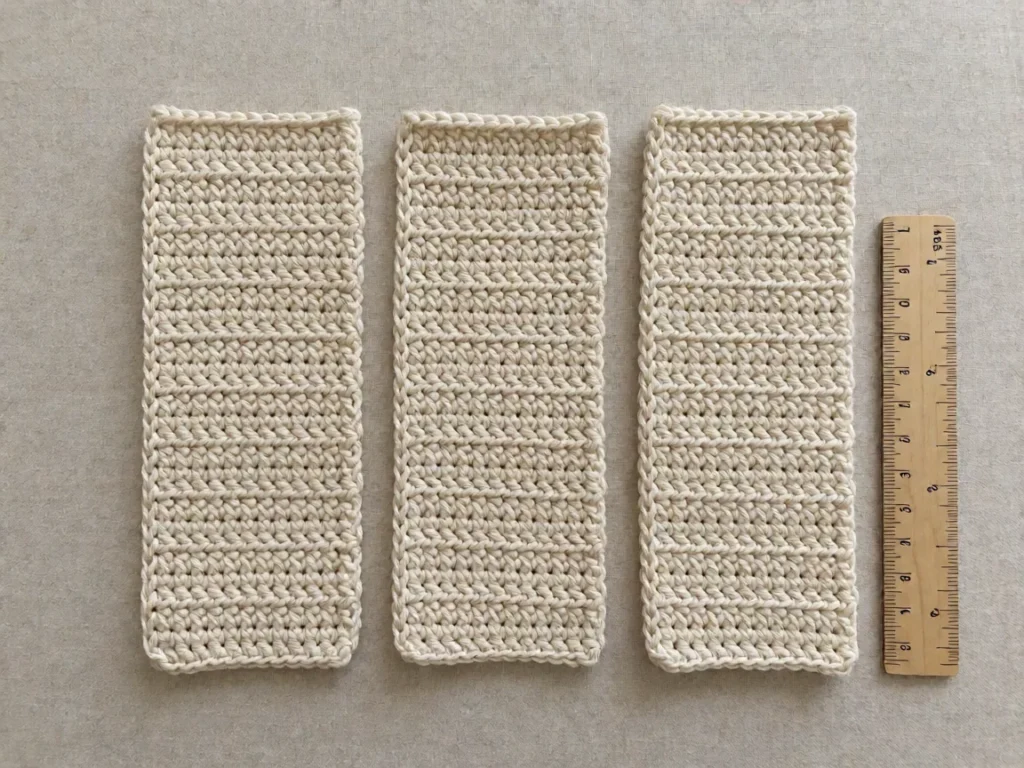
    A crocheted piece showing one, two and three chain turning chains side by side at the end of rows

    Abbreviation and how to read it in a pattern

    Slip stitch is written ss in American patterns and sl st in British ones. Both mean the same thing. Some patterns also use sc — no, that is single crochet; if a pattern writes slip stitch as sc it is an error or an old notation, so check the abbreviation key.

    When a pattern says “ss across, ch 1, turn”, work a slip stitch into every stitch of the row, then chain one to reach the height of a single crochet, then turn. The slip stitches give you the row; the chain gives you the height.

    The three jobs a slip stitch does

    1. Turning chains

    At the end of a row, you chain to get up to the height of the stitch you are about to work. One chain for single crochet, two for half double, three for double. Those chains are slip-stitch-shaped, which is why beginners sometimes chain too tightly and find the next row will not fit.

    2. Invisible joins

    To join two rounds, slip stitch into the first stitch of the previous round and the first stitch of the new round at the same time. One stitch, no visible seam, and the round boundary disappears.

    3. Flat seams

    Working a slip stitch through the top loops of two pieces joins them edge to edge. The seam is firm, nearly invisible from the right side, and does not stretch — which is why slip stitch is used for seaming amigurumi limbs.

    What slip stitch is not for

    Because it adds no height, a row of slip stitches will not fill space. If a pattern tells you to work a round of slip stitches and then continue in the same round with single crochet, the slip stitches are not the fabric — they are a foundation layer to crochet into. Reading slip stitch as a placeholder is the mental shift that makes it click.

    Common mistakes

    • Slipping into only one loop. Unless the pattern says front loop only or back loop only, go through both loops.
    • Skipping the first stitch. Slip stitch into the very first stitch of the round, not the turning chain.
    • Tight turning chains. If the next row cannot pass through the chain, your chain is too tight. Make the chain slightly looser.
    • Yarn over instead of pull through. A slip stitch has no yarn over. If you are yarn overing, you have accidentally started a single crochet.

    Making a tidy slip stitch seam

    Two habits turn a wobbly seam into a straight one. First, keep the tension on both pieces identical — hold them together and match the stitch spacing before you start. Second, work from the bottom row upward, not the top downward. Working upward keeps the seam level and stops the pieces from shifting as you go.

    Next steps

    Slip stitch is a supporting stitch, so the fastest way to learn it properly is in context. Learn single crochet next — it is the shortest stitch that actually builds fabric, and once that is comfortable the slip stitch stops being something you look up and becomes something you use without thinking.

    You will also meet slip stitch everywhere in our crochet stitch glossary, including as turning chains, joins and edging.

    Frequently asked questions

    Why does the pattern say the slip stitch does not count as a stitch?

    Because it does not build fabric. A slip stitch is closer to a movement than a stitch: it passes through a loop and pulls it through to join, to turn, or to shift your place along a row. It leaves no visible surface on the finished piece, which is exactly why edgings built from it disappear into the fabric. Count it only when a pattern explicitly tells you to.

    Why do my chains split or twist as I go?

    Usually over-twisting. If you roll the working yarn between your finger and thumb as you make each chain, the strands tighten until the loop splits when you pull the hook through. Let the yarn feed straight from the ball instead. The other common cause is reaching for a hook that is too large, which gives the loop no resistance; drop back one size and the problem usually disappears.

    How do I know my foundation chain is long enough?

    Measure it. Lay the chain flat, do not stretch it, and check it against the size the pattern calls for. A useful landmark: 25 chains worked with a 4.0 mm hook give roughly 10 cm, and the same hook gives you a 20 cm foundation in roughly 50 chains, plus the turning chain on top. If your chains measure noticeably shorter, your tension is tight and a size down will save you from a panel that comes out narrow.

    One naming trap to watch for: in UK terminology sc means slip stitch, while in US terminology sc means single crochet. The Craft Yarn Council crochet abbreviations standard lists both, and a pattern that never says which one it uses is a pattern to ask about before you begin.

    Working an edging and want to check your tension before committing to the whole panel? Leave a comment with the hook size and stitch you are using, and I will tell you what to measure.

  • Crochet Stitch Meanings: A Glossary of 30 Stitches You Need

    Crochet Stitch Meanings: A Glossary of 30 Stitches You Need

    Here is the thing about crochet patterns: they are written in an abbreviation nobody teaches you. A pattern will say “ch 1, sc in each st across, ch 1, turn” and expect you to know that means chain one, work single crochet into every stitch, chain one, turn the work around. That is a language, and nobody hands you the dictionary.

    This page is the dictionary. Thirty stitches, grouped into four families, with plain-language definitions for each. It is deliberately organised by family rather than alphabetically, because the families tell you something useful: if you can work the basic family, you can read almost any pattern, because patterns are mostly basic stitches plus occasional shaping.

    If you are completely new, read the four families top to bottom in order and make the stitches as you go. If you are stuck on one specific term, jump to it and read the whole family around it.

    Why abbreviations exist

    Crochet stitches are tall. A double crochet is about three times the height of a single crochet, and a row of them takes up real space on the page. Writing out full names would make patterns three times longer and impossible to follow across a page. So the industry agreed on two-character codes.

    The convention is: the letter is the stitch name, the number is how many you do in the same place. That single rule explains most of what you will meet.

    • sc — single crochet, one stitch.
    • sc2tog — single crochet two together, so two stitches become one.
    • dc2tog — double crochet two together, two stitches become one.
    • [sc, sc, sc] — the same stitch worked three times in one place.

    Suffixes carry the rest of the meaning. tog means together (a decrease). inc means increase. blo means back loop only. fo means front loop only. Once you know the suffixes, a new stitch abbreviation is usually guessable.

    Family 1 — Foundation stitches

    These build the base row. You cannot crochet anything without them.

    1. ch — chain

    A foundation loop: yarn over, pull the working yarn through the loop on your hook, repeat. Chains are the starting point for nearly every other stitch and also serve as turning chains between rows. A slip stitch is a chain worked directly into a stitch rather than into the chain space.

    2. sl st or ss — slip stitch

    The shortest stitch there is. Insert the hook, pull yarn through both loops, pull through the loop on your hook — done. It joins stitches and it works around edges. It produces no fabric of its own. Full walkthrough in our slip stitch guide.

    3. magic loop or magic ring — adjustable start

    Not a stitch but a technique: wrap the yarn around your finger, cross it, work into the loop, then pull the tail to close the gap. Leaves no hole at the centre of a round. Essential for amigurumi.

    Family 2 — The basic stitches

    These produce fabric. Height increases with each one, and every pattern you will ever make is mostly these four.

    4. sc — single crochet

    Insert, pull up a loop, yarn over, pull through both loops. The shortest stitch that makes fabric, and the first one to learn. Full walkthrough in our single crochet guide.

    5. hdc — half double crochet

    Like single crochet but yarn over first, so it is taller. The extra step makes it faster to cover ground and it makes dense, firm fabric. Very popular in modern blankets.

    6. dc — double crochet

    Yarn over, insert, pull up a loop, yarn over and pull through two loops, yarn over and pull through the last two. Three times the height of single crochet. Full walkthrough in our double crochet guide.

    7. tr — treble crochet

    Yarn over twice, then work like a double crochet but pull through two loops three times. The tallest stitch in regular use, which is why open lace and shawls use it.

    8. htr — half treble crochet

    Between half double and treble. Uncommon, and worth knowing so you do not think a pattern has a typo when it says hdc where you expected htr.

    9. sc2tog — single crochet decrease

    Single crochet two together. Insert your hook through two stitches, pull up a loop, yarn over and pull through all three loops at once. Two stitches become one. This is how fabric narrows.

    10. dc2tog — double crochet decrease

    Yarn over, insert through two stitches, pull up a loop, and complete the double crochet across all three loops. Same idea, taller result.

    Family 3 — Texture stitches

    These are the basic stitches worked differently — usually into the back loop only, or into the stitch itself rather than its top loops.

    11. sc blo or scBLO — single crochet back loop only

    Insert your hook under the back loop only, not both loops. Leaves the front loop as a visible ridge. A single row of blo is ribbing. Adding this to a familiar stitch makes it look like a different stitch entirely.

    12. sc flo — single crochet front loop only

    The mirror of blo. Leaves the back loop visible as a ridge.

    13. hdc blo — half double back loop only

    Back loop only, in half double crochet. Deeper ribbing than single crochet blo, because the stitch is taller.

    14. dc blo — double crochet back loop only

    Textured, and it creates visible gaps in the row below. Common in winter blankets.

    15. pc or sl st over — post stitch

    Worked around the post of a stitch from the row below rather than into its top. Produces a raised column — this is what waffle and basketweave stitches are built from.

    Family 4 — Decorative and specialty stitches

    Used for texture, edging and joining. You do not need these early, but you will meet them.

    16. picot

    Chain, slip stitch into the first chain, repeat. Worked at the edge of a row as a tiny decorative loop. The detail on most lace edgings.

    17. bobble — puff stitch

    Several stitches worked into one place to create a raised bump, then closed. Puff stitch, bobble and popcorn are variations of the same idea.

    18. cluster — granny cluster

    Usually three double crochets worked into the same space. The basic unit of a granny square, and therefore the basis of most granny square blankets.

    19. shell — fan stitch

    A wider version of a cluster, usually five stitches in one space, fanning out into a scallop. Common in shell borders.

    20. crab stitch — reverse single crochet

    Worked left to right instead of right to left, inserting the hook under the stitch from two rows below. Produces a firm, corded edging that is far more hard-wearing than slip stitch.

    21. sl st join — invisible join

    A slip stitch worked into both pieces at once. Seams edges neatly. The alternative is the whip stitch, which is invisible from the front.

    22. v-stitch

    Chain, one stitch, chain, all worked into the same space. Creates a pointed open mesh. The base of many lace and shawl patterns.

    23. sc2tog behind — invisible decrease

    A decrease worked with the stitch behind the current one, so the decrease does not leave a visible gap. Used wherever decreases would otherwise show.

    24. yarn over or yo — yo

    Not a stitch: wrap the yarn over your hook without pulling it through. Part of the double and treble crochet. Yarn over twice means the next stitch will be taller.

    25. beg — beginning of row

    The turning chain. Three chains to begin a double crochet row, two for half double, one for single. Counted as stitches in some patterns and not in others — check before you start.

    26. sk — skip

    Do not work into a stitch. “sc in next st, sk 1 st” means work one stitch, leave the next alone, continue.

    27. rep from * — repeat

    Return to the asterisk and work the sequence again. The workhorse of every border and edging pattern.

    28. ( ) or [ ] — group

    Brackets mean “work everything inside as one unit”. [dc, ch 1, dc] means those three stitches go in the same space.

    29. st inc — single crochet increase

    Work two single crochet into the same stitch. One becomes two. The inverse of a decrease, and the other half of shaping.

    30. fasten off

    Not a stitch, but it ends every project: cut the yarn, pull it through the last loop, pull tight. Cut too short and the end unravels — leave 15cm at minimum.

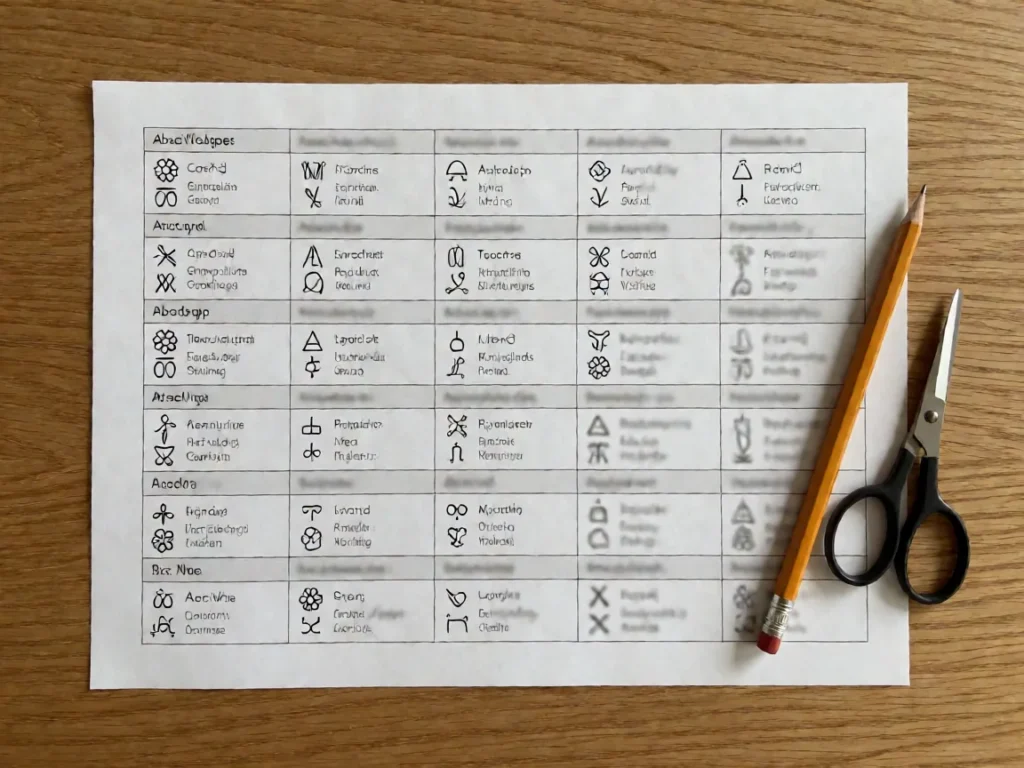
    A printed crochet abbreviation cheat sheet showing sc, dc and hdc symbols next to their full names

    US versus UK terminology

    British patterns use different names for the same stitches, which trips up anyone reading an older or British pattern:

    US term UK term
    single crochet (sc) double crochet (dc)
    double crochet (dc) treble crochet (tr)
    treble crochet (tr) triple treble (trtr)
    half double (hdc) half treble (htr)
    slip stitch (ss) slip stitch (ss)

    Abbreviations are the reliable signal. UK patterns abbreviate single crochet as sc and double crochet as dc too, so if you are working from a UK pattern, assume its dc means tall stitch.

    How to use this glossary

    Learn families 1 and 2 properly and you can read roughly ninety percent of published patterns. Family 3 is what turns flat work into texture, and it is worth learning once you are comfortable. Family 4 is reference material — look it up when you meet it rather than learning it in advance.

    For the full mechanics rather than definitions, start with our step-by-step guides: slip stitch, then single crochet, then double crochet. Once those three are automatic, the rest of this page is reference rather than instruction.

    Frequently asked questions

    Why does sc mean two different things?

    In US terminology sc is single crochet, a tall-ish fabric stitch. In UK terminology sc is the slip stitch, which is barely a stitch at all — it just joins. The ambiguity is the single most common reason a UK pattern produces a completely different object to the one pictured. Check which convention a pattern declares before you assume.

    How do I tell which convention a pattern uses?

    Look at the abbreviations key and the gauge line together. A line like 16 sts x 14 rows = 10 cm with a 4.0 mm hook tells you both the tension and the terminology: a pattern stating 16 stitches across 10 cm in medium-weight yarn is using the US system, where those stitches are single crochet. Turn the page and the numbers will not line up if you have guessed wrong.

    Do I need to memorise all of these?

    No. Learn the four structural stitches properly — chain, slip stitch, single crochet, double crochet — and treat everything else as lookup. Those four cover the large majority of published patterns. The shaping and texture stitches in this glossary are here so that when you meet one in a pattern, you can identify it and find it in under a minute rather than abandoning the project.

    When you do need the authoritative list rather than a summary, the Craft Yarn Council crochet abbreviations standard is the reference that publishers and manufacturers work to, and it is worth bookmarking.

    Met an abbreviation on this page you think we have got wrong? Leave a comment with the term and I will check it against the standard.

  • How to Read a Crochet Pattern: Step by Step for Beginners

    How to Read a Crochet Pattern: Step by Step for Beginners

    A crochet pattern looks like a code. It is not. Every pattern ever published follows the same eight parts in the same order, and once you can find those eight parts you can read any pattern you download — including the ones whose instructions read like they were written for someone else.

    Here is the anatomy.

    1. The title and the difficulty

    Usually a photograph of the finished item, then a title. Patterns that call themselves “advanced” are not advanced because the stitches are difficult. They are advanced because they involve shaping, construction, or a colour change across many rounds. Read past the label.

    2. The abbreviation key

    A table defining every abbreviation the pattern uses. Find it and read the entire table before you start. This is the part beginners skip, and skipping it is why they stall at row one.

    The universal abbreviations, which appear in almost every pattern:

    Written Means
    ch chain
    sl st / ss slip stitch
    sc single crochet
    dc double crochet
    tr treble crochet
    yo yarn over
    inc increase (usually 2 stitches in one)
    dec / 2tog decrease (2 stitches worked as one)
    rep from * repeat everything from the asterisk
    BLO / FLO back loop only / front loop only

    Every stitch on our crochet stitch glossary appears in some pattern’s key, so it is worth knowing the whole set rather than the three stitches in your first project.

    3. Materials and hook size

    Yarn weight, quantity, and hook size. Read the hook size as a requirement, not a suggestion — it is half of the gauge calculation. And read the yarn quantity as an estimate, because it assumes average tension. Buy ten per cent more if the pattern involves cables, textured stitches, or a loose weave.

    4. Finished size and gauge

    This is the part that connects everything else. The gauge tells you how many stitches fit into a measurement; the finished size tells you how many total stitches the designer used. These two numbers let you check your work mid-project, and they are the answer to “how many stitches do I cast on”.

    If you skip gauge entirely, measure a swatch before you start.

    5. The special notes

    Anything that does not fit the standard flow: “the turning chain does not count as a stitch”, “join with sl st in the first stitch”, “the last stitch of each round is a sc2tog”. These are overrides. When a note contradicts the row instructions, the note wins — that is why it is in a separate section.

    6. The row or round instructions

    The bulk of the pattern, in order. Read the first three rows before starting, because most beginner problems are set up in the first rows: the turning chain, the first stitch, the join.

    7. The stitch counts

    Every row ends with a count in brackets or parentheses: (30) or [30]. Check it after every row. This is not busywork — it is the only mechanism that catches a mistake early, and a mistake caught at row three is thirty minutes of rework rather than three hours.

    When your count drifts by one and stays one off, you have almost certainly gained or dropped a stitch at the row end, usually around the turning chain.

    8. The finishing and assembly

    Fasten off, weave in ends, block, and assemble. Patterns often put assembly before the finishing steps, in which case both instructions apply. Weave ends in before you block, not after.

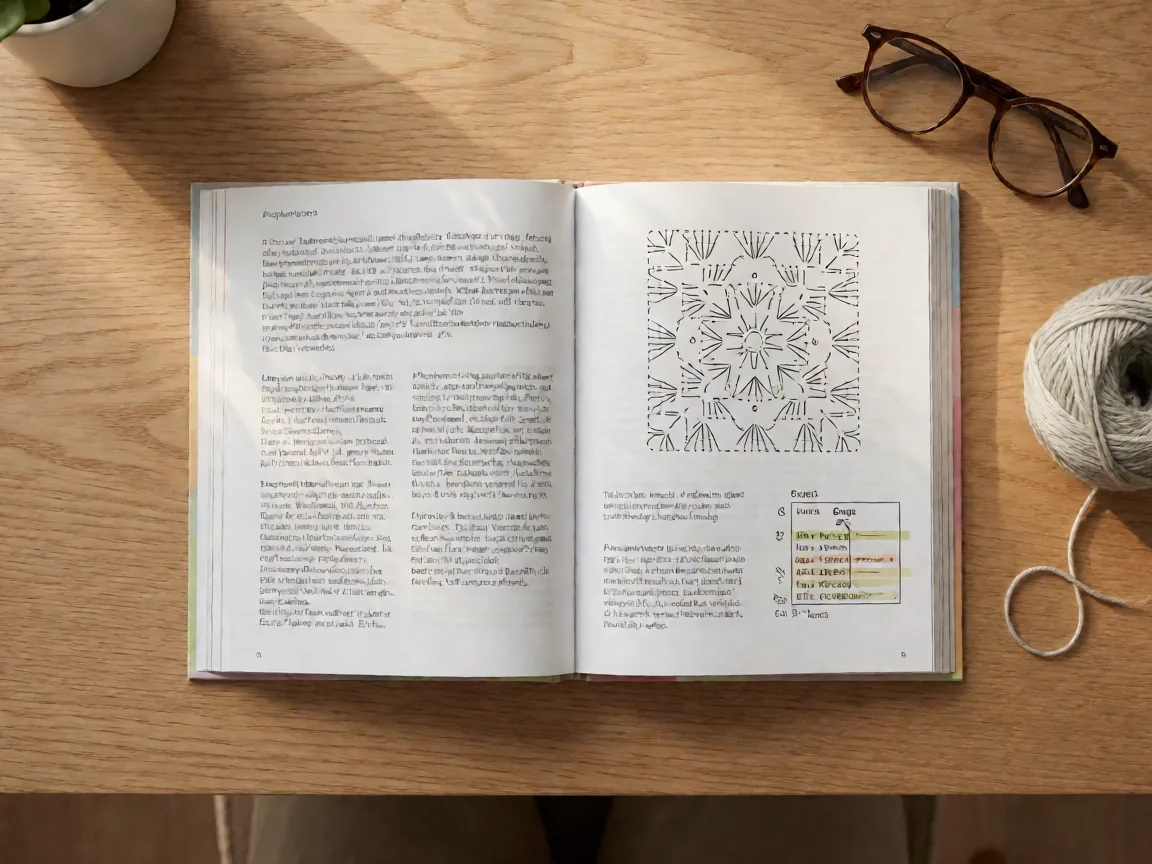
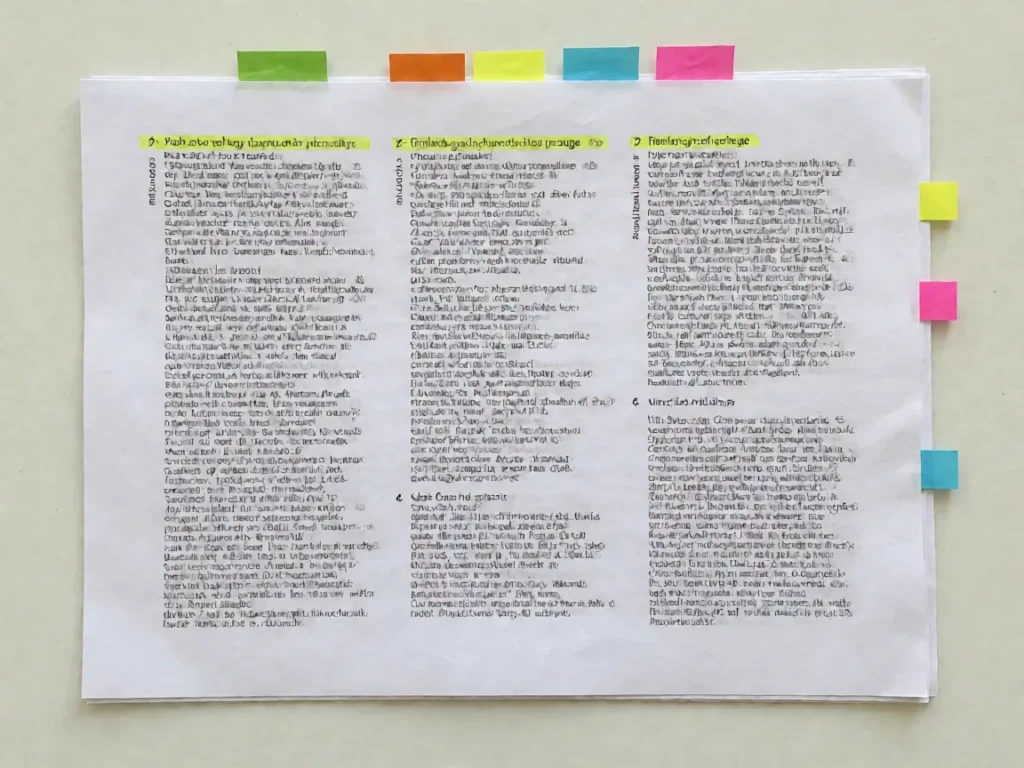
    A printed crochet pattern page annotated with highlighted gauge, hook size and finished size sections

    Reading a row instruction aloud

    Take the most complex row in the pattern and say it in plain words before you crochet it. “Ch 1, sc in each st across, ch 1, turn” becomes: chain one, single crochet into every stitch, chain one, turn the work. Prose first, then stitches. It sounds pedantic and it eliminates almost every comprehension error.

    What to do when the pattern contradicts itself

    This happens in published patterns, and it is not a reason to abandon the project. Work through the contradictions in this order:

    1. Special notes override row instructions.
    2. The final stitch count is the source of truth for every previous row.
    3. If a stitch count is missing entirely, work the arithmetic and check the result against the finished size.
    4. Check whether the pattern is written in UK terminology — this is the most common source of silent contradictions.

    Our glossary page covers the US and UK naming differences that cause most of these.

    Frequently asked questions

    What should I do if a pattern gives no gauge?

    Treat it as a warning rather than an inconvenience. A missing gauge usually means nobody verified the finished size in that yarn, so the measurements in the pattern are decorative. Either work your own swatch first and adjust the row count yourself, or ask the designer. Either way, know before you start, not after you have four hours of work on the hook.

    How do I follow a row instruction like “sc in the 2nd ch from hook”?

    Count from the hook, not from the base. The chain sitting on your hook is chain one, so the next one along is chain two, and that is where the first stitch goes. It leaves one turning chain at the start of the row. Patterns write ch-1, sc in the 2nd ch from hook when they want that, and plain sc in each ch when they do not. The difference is one stitch of height per row, which compounds quickly on a long piece.

    Why do my stitch counts not match the numbers written on the row?

    Almost always the turning chain. If the pattern ends a row with 18 sc but the stitch count line says 17, the eighteenth stitch is meant to be worked as the turning chain rather than as a fabric stitch. When the two numbers differ by one, that is almost always the answer. When they differ by more, look for an instruction you skipped, such as a decrease worked at the end of the row.

    A gauge line reads like this: 16 sc and 11 rows = 10 cm. Sixteen stitches across, eleven rows tall, ten centimetres measured after washing. A 30 cm square at that gauge takes 48 stitches across and 33 rows, which is why the gauge line governs every number that follows it rather than sitting at the top as an aside.

    The abbreviations on any pattern sheet come from a shared standard, and the Craft Yarn Council crochet abbreviations list is the version most publishers follow.

    Next steps

    Pick a pattern you actually want to make, not a pattern you think you should make. Then make a swatch first. Start with our ten beginner patterns if you want the stitch count guaranteed to be in your hands — every one of them uses only the stitches in the glossary, nothing else.

    Stuck on one line of a pattern and the rest of the instructions will not tell you what it means? Leave the pattern name and the line, and I will walk through it.