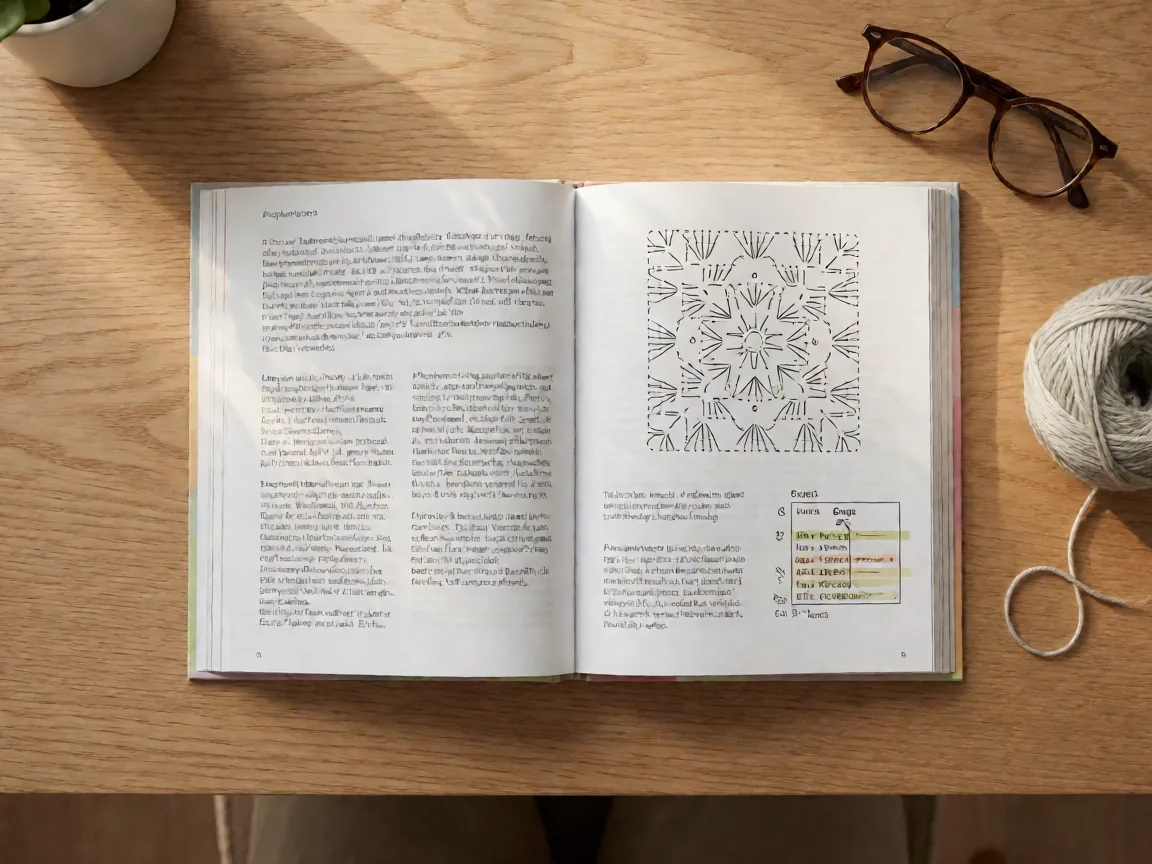
A crochet pattern looks like a code. It is not. Every pattern ever published follows the same eight parts in the same order, and once you can find those eight parts you can read any pattern you download — including the ones whose instructions read like they were written for someone else.
Here is the anatomy.
1. The title and the difficulty
Usually a photograph of the finished item, then a title. Patterns that call themselves “advanced” are not advanced because the stitches are difficult. They are advanced because they involve shaping, construction, or a colour change across many rounds. Read past the label.
2. The abbreviation key
A table defining every abbreviation the pattern uses. Find it and read the entire table before you start. This is the part beginners skip, and skipping it is why they stall at row one.
The universal abbreviations, which appear in almost every pattern:
| Written | Means |
|---|---|
| ch | chain |
| sl st / ss | slip stitch |
| sc | single crochet |
| dc | double crochet |
| tr | treble crochet |
| yo | yarn over |
| inc | increase (usually 2 stitches in one) |
| dec / 2tog | decrease (2 stitches worked as one) |
| rep from * | repeat everything from the asterisk |
| BLO / FLO | back loop only / front loop only |
Every stitch on our crochet stitch glossary appears in some pattern’s key, so it is worth knowing the whole set rather than the three stitches in your first project.
3. Materials and hook size
Yarn weight, quantity, and hook size. Read the hook size as a requirement, not a suggestion — it is half of the gauge calculation. And read the yarn quantity as an estimate, because it assumes average tension. Buy ten per cent more if the pattern involves cables, textured stitches, or a loose weave.
4. Finished size and gauge
This is the part that connects everything else. The gauge tells you how many stitches fit into a measurement; the finished size tells you how many total stitches the designer used. These two numbers let you check your work mid-project, and they are the answer to “how many stitches do I cast on”.
If you skip gauge entirely, measure a swatch before you start.
5. The special notes
Anything that does not fit the standard flow: “the turning chain does not count as a stitch”, “join with sl st in the first stitch”, “the last stitch of each round is a sc2tog”. These are overrides. When a note contradicts the row instructions, the note wins — that is why it is in a separate section.
6. The row or round instructions
The bulk of the pattern, in order. Read the first three rows before starting, because most beginner problems are set up in the first rows: the turning chain, the first stitch, the join.
7. The stitch counts
Every row ends with a count in brackets or parentheses: (30) or [30]. Check it after every row. This is not busywork — it is the only mechanism that catches a mistake early, and a mistake caught at row three is thirty minutes of rework rather than three hours.
When your count drifts by one and stays one off, you have almost certainly gained or dropped a stitch at the row end, usually around the turning chain.
8. The finishing and assembly
Fasten off, weave in ends, block, and assemble. Patterns often put assembly before the finishing steps, in which case both instructions apply. Weave ends in before you block, not after.
Reading a row instruction aloud
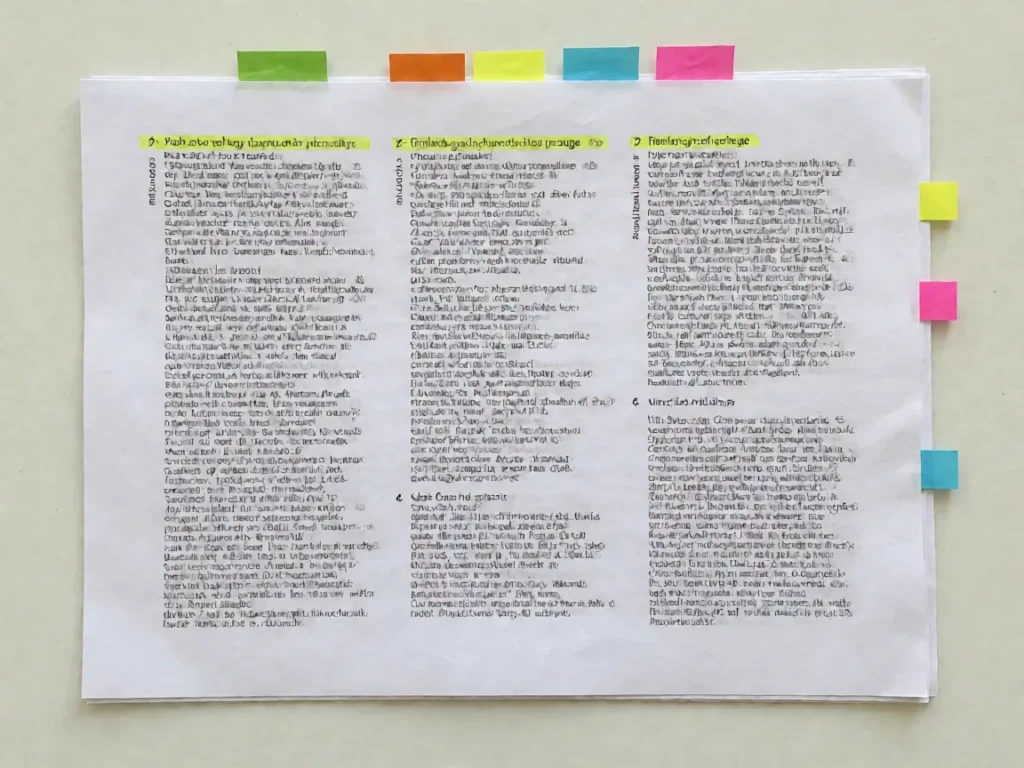
Take the most complex row in the pattern and say it in plain words before you crochet it. “Ch 1, sc in each st across, ch 1, turn” becomes: chain one, single crochet into every stitch, chain one, turn the work. Prose first, then stitches. It sounds pedantic and it eliminates almost every comprehension error.
What to do when the pattern contradicts itself
This happens in published patterns, and it is not a reason to abandon the project. Work through the contradictions in this order:
- Special notes override row instructions.
- The final stitch count is the source of truth for every previous row.
- If a stitch count is missing entirely, work the arithmetic and check the result against the finished size.
- Check whether the pattern is written in UK terminology — this is the most common source of silent contradictions.
Our glossary page covers the US and UK naming differences that cause most of these.
Frequently asked questions
What should I do if a pattern gives no gauge?
Treat it as a warning rather than an inconvenience. A missing gauge usually means nobody verified the finished size in that yarn, so the measurements in the pattern are decorative. Either work your own swatch first and adjust the row count yourself, or ask the designer. Either way, know before you start, not after you have four hours of work on the hook.
How do I follow a row instruction like “sc in the 2nd ch from hook”?
Count from the hook, not from the base. The chain sitting on your hook is chain one, so the next one along is chain two, and that is where the first stitch goes. It leaves one turning chain at the start of the row. Patterns write ch-1, sc in the 2nd ch from hook when they want that, and plain sc in each ch when they do not. The difference is one stitch of height per row, which compounds quickly on a long piece.
Why do my stitch counts not match the numbers written on the row?
Almost always the turning chain. If the pattern ends a row with 18 sc but the stitch count line says 17, the eighteenth stitch is meant to be worked as the turning chain rather than as a fabric stitch. When the two numbers differ by one, that is almost always the answer. When they differ by more, look for an instruction you skipped, such as a decrease worked at the end of the row.
A gauge line reads like this: 16 sc and 11 rows = 10 cm. Sixteen stitches across, eleven rows tall, ten centimetres measured after washing. A 30 cm square at that gauge takes 48 stitches across and 33 rows, which is why the gauge line governs every number that follows it rather than sitting at the top as an aside.
The abbreviations on any pattern sheet come from a shared standard, and the Craft Yarn Council crochet abbreviations list is the version most publishers follow.
Next steps
Pick a pattern you actually want to make, not a pattern you think you should make. Then make a swatch first. Start with our ten beginner patterns if you want the stitch count guaranteed to be in your hands — every one of them uses only the stitches in the glossary, nothing else.
Stuck on one line of a pattern and the rest of the instructions will not tell you what it means? Leave the pattern name and the line, and I will walk through it.